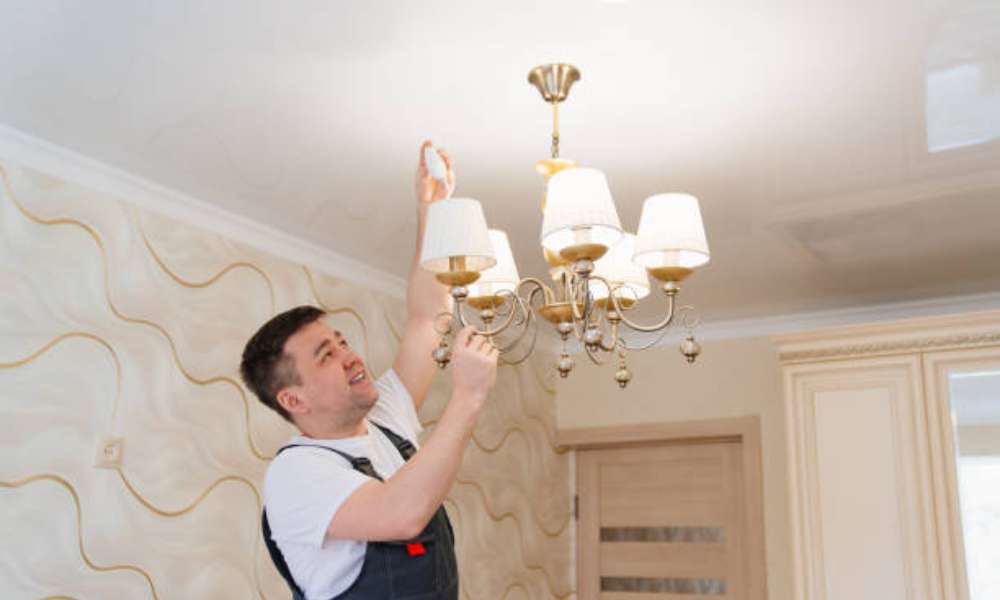
Ready to refresh your dining room with a stylish upgrade Learning how to change a dining room light fixture is easier than you might think, and it’s one of the simplest ways to transform your space without breaking the bank. Whether you’re swapping out an outdated chandelier or installing a modern pendant light, this guide will walk you through the entire process step-by-step. From gathering the right tools to ensuring safety during installation, we’ll make sure you’re equipped to tackle this home improvement project with confidence. Let’s shed some light on how to elevate your dining room in just a few easy steps.
Understanding Your Current Light Fixture
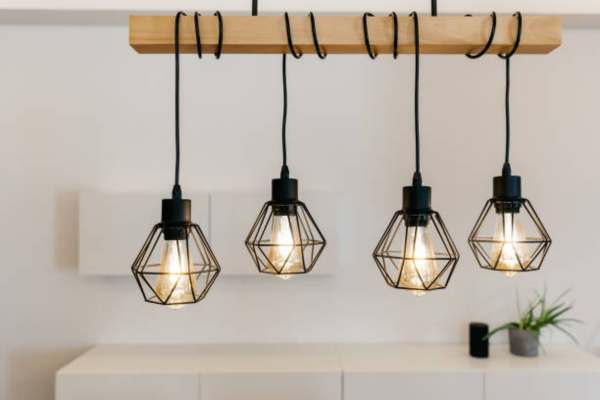
Before embarking on your light fixture upgrade, take time to assess your current setup. Note the fixture’s weight, size, and mounting type, as well as the condition of the ceiling box. Examine the wiring—especially in older homes where electrical setups may not comply with modern standards. Understanding these details ensures that your new fixing is compatible and the installation process goes smoothly without unnecessary surprises or complications.
Essential Tools For Changing A Light Fixture
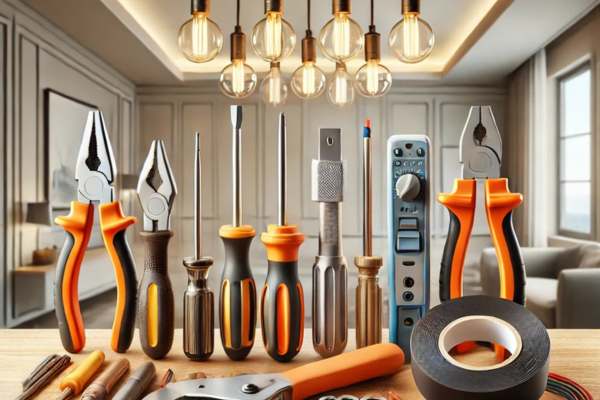
Having the right tools is critical for success. Equip yourself with screwdrivers, wire strippers, pliers, a voltage tester, and electrical tape. A sturdy ladder provides safe access, while wire nuts secure connections. If your new fixture is heavier, ensure you have hardware to reinforce the ceiling box. Preparing these tools in advance minimizes interruptions and keeps the process efficient and stress-free.
Optional Accessories For A Professional Finish

Add elegance to your installation with optional accessories. Decorative ceiling medallions frame the fixture beautifully, while chain extenders adjust height for high ceilings. Cord covers neatly conceal unsightly wires, creating a streamlined look. These completing touches elevate your fixing from practical to splendid, enhancing the general layout of your dining room and making your installation look professionally completed.
Safety First
Prioritize safety at every stage of this project. Wear insulated gloves to prevent accidental shocks, and ensure your ladder is stable on an even surface. Work in a well-lit environment and keep tools organized to avoid accidents. Taking these precautions minimizes risks and ensures the installation process is as safe as it is efficient.
Removing The Old Light Fixture
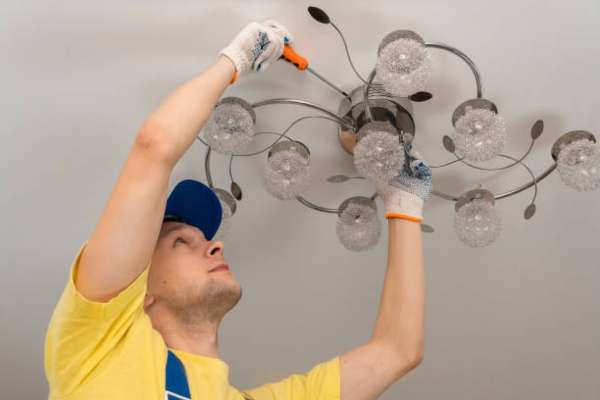
Begin by unscrewing the fixture’s canopy to expose the wiring. Loosen the screws holding the fixture in place and gently disconnect the wires. Remember to label or photograph the connections for reference during installation. Carefully lower the fixing, ensuring no damage to the wires or ceiling box. This step requires patience and attention to detail to ensure the process goes smoothly.
Turning Off The Power The Crucial First Step
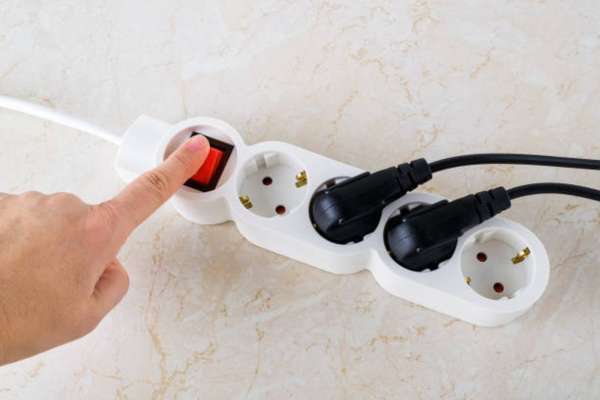
Before any electrical work, safety comes first. Locate your home’s circuit breaker and turn off the power to the dining room light fixture. Confirm the absence of electricity with a voltage tester. This essential precaution prevents electrical shock and ensures a safe working environment. Never skip this step, as even a small oversight can lead to hazardous consequences.
Testing For Live Wires With A Voltage Tester
Double-checking the circuit is crucial, even after flipping the breaker. Use a voltage tester to ensure no live wires are present. Place the tester near the fixture’s wires; a silent or unlit reading confirms the power is off. This step is a simple yet critical safeguard that offers peace of mind before handling electrical components.
Disconnecting Wires Safely Without Damage
Carefully disconnect the wires by loosening the wire nuts. Hold the wires firmly, avoiding excessive force that could cause fraying or damage. Label each wire—live, neutral, and ground—for easy identification during installation. Proper handling of the wires prevents future issues and ensures a clean and functional connection for your new fixture.
Cleaning The Ceiling Area For A Fresh Start
With the old fixture removed, clean the ceiling area thoroughly. Dust, old paint, or debris can hinder a secure fit for the new fixing. Wipe the area with a damp cloth and inspect the ceiling box for stability. A clean and smooth surface not only ensures a proper installation but also enhances the overall look of the finished product.
Preparing The Ceiling Box
Inspect the ceiling box to ensure it’s suitable for your new fixture. If upgrading to a heavier light, replace the box with one rated for higher weight capacity. This prevents future structural issues. Ensure all screws are tight and the box is securely mounted to the ceiling joist. A well-prepared ceiling box is the foundation of a successful installation.
Upgrading The Ceiling Box For Heavier Fixtures
For larger, heavier fixtures like chandeliers, the standard ceiling box may not suffice. Upgrade to a reinforced or metal box designed for higher weight limits. Install the new box firmly into the ceiling joist to provide stable support. This critical upgrade ensures safety and durability for your new dining room centerpiece.
Securing The Fixture To The Ceiling Box Properly
Carefully align the fixture’s mounting bracket with the ceiling box. Thread the fixture’s screws through the bracket and tighten securely. Ensure the fixing hangs evenly and doesn’t wobble. Proper alignment and secure attachment ensure a polished and professional look while preventing potential hazards from loose or unbalanced installations.
Testing The New Fixture For Proper Functionality
Reconnect the wiring, matching live, neutral, and ground wires. Secure connections with wire nuts and cover them with electrical tape. Restore power at the breaker and test the fixture by flipping the switch. If it doesn’t work, recheck the wiring. Testing ensures the light operates correctly and identifies any issues immediately.
Styling Tips For Your New Light Fixture
Make the most of your new fixture by styling it thoughtfully. Select bulbs that enhance the fixture’s design and complement your room’s lighting needs. Incorporate dimmers for versatile ambiance. Pair the fixing with dining room elements, such as matching metallic finishes or coordinated decor. These tips ensure your fixture shines as the centerpiece it’s meant to be.
Common Challenges And How To Overcome Them
Encountering loose connections, uneven mounting, or wiring incompatibility is common. Double-check wire nuts for tightness, adjust screws for balance, and use adapters for older wiring systems. If issues persist, consult an electrician. Addressing these challenges promptly ensures a smooth installation and a long-lasting fixture.
FAQs
Can I change a light fixture without electrical experience?
Ans: Yes, with proper tools, safety precautions, and instructions, most people can handle this project.
Do I need a special ceiling box for chandeliers?
Ans: Heavier fixtures require reinforced or metal ceiling boxes for safety.
How long does installation take?
Ans: Typically 1-2 hours, depending on experience and fixing complexity.
Conclusion
Swapping out your dining room light fixture is easier than it seems, so long as you observe the stairs carefully. From turning off the electricity to soundly mounting the new fixture, it’s all approximately endurance and precision. With your new light in the area, you’ve no longer handiest brightened the room but also transformed its ambiance. Ready to address your subsequent DIY assignment Share your enjoyment inside the feedback or discover our other home development guides for extra concepts.
